Tampilkan postingan dengan label computer. Tampilkan semua postingan

Kamis, Agustus 13, 2015

Track Changes Microsoft Word 2007


What? MS Office 2007? but why? this is 2015!!

yeaaah I know it, I never really think about what version I use and  how this is so outdated. In fact, my office still use Windows 7 and MS Office 2007. what a pair, huh? with Windows 10 around I'm considering to upgrade to Office 365. okay let's get to the point.

What is that?
guess from its name!, it is a menu for tracking any change you made (or other people made) to the document. Usually this is used when you work with other people as editor of your work.

Why would you want it?
because it can track the changes have been made. Say, you work as a writer and you have to send your document to your editor. With this menu active, the changes your editor have been made are recorded to the file.

How it is work?
My editor told me to write some biography so I type I am not a good guy. I am a bad guy. But he didnt approve it and erase not and I am a bad guy parts. then He add I work everyday to pay my bill.
As you can see, the word he erased is not really erased, it is strikedtrough and the word he add is underlined. All change he made is in red font. that's called a Markup.

We can accept a markup as what Editor say or we can reject them and go with whatever we type.

Another cool stuff is Display for Review menu. My image says "Final Showing Markup". it mean the MS Word shows all markup. When you got frustated with so many red line and red font from your editor you can change this menu to "Final" so you will only see what your editor type. without red line ofcourse. or if you want to refresh your memory about what you write before submiting to editor, just change this menu to "Original" and all of red line and red font are gone!


that's it. See you again Pal! (if you are my pal)

I am changing my blog address


It has been a year since last time I post something to the blog. I didnt realize that I still get traffic from this nearly dead blog lol. so yeah, today I am changing my address blog address. if you want to know how to do this, just visit your blog cms, open setting and in Publishing section you'll see your blog address. just change it and voila.

Sabtu, November 01, 2014

PingZapper failed to connect since Installing Kaspersky Internet Security 2015

yoo how are you doing pal?
i've been playing Final Fantasy XIV: A Realm Reborn and it is really addicted lol

now that i play my first P2P MMORPG, i think i have a problem and solution to share. i've tried all working solution in the internet but all are not working for me. so i decided to write it in English. just dont be a grammar nazi on me OK? LOL

i already tried all solution i can find such like make Pingzapper as a trusted apps, make all network activity from Pingzapper permitted, and turn off KIS 2015 but nothing work.


first, I am afraid to judge wether it is Kaspersky fault or not. one thing i know is, the problem existed since i install Kaspersky Internet Security 2015.
oke so you wanna know how i make my PingZapper conected again, here my step.

1. open your Pingzapper and connect it
2. open your game and follow it through until the point it is cannot be connected. (lobby has encountered a problem or something like that)
-----------------------------------------------those step above are for checking the problem still exist or not
3. close your game, back to Pingzapper and turn it off. make sure to turn it off.
4. go to Setting and look at the Pingzapper Server Port. see the screenshoot below.
5. notice that it is set to default number which is 443. then the trick is started here. change the port number to some random port number. in my case, i set it to 445. then click Save Setting.
6. connect Pingzapper and open your game. i am sure that at this point, your game is still get an error.
7. so close your game again, and back to Pingzapper. disconnect Pingzapper and change the Server Port back to 443. then click save setting.
8. turn it on and play your game. in my case, it is a succes.

i'll give a note here. my problem always occured when i update Kaspesky, so i believe it is related to Kaspersky. FYI, i already contacted Pingzapper support but got no response until now and i have to repeat all the step above after updating Kaspersky.

okay hope it will help, thanks for visitting.

Kamis, September 18, 2014

Memunculkan Titik Ribuan (Thousand Separator) dalam Mail Merge


halo! setelah lama tidak mengunjungi blog saya ini, akhirnya saya memutuskan untuk menulis sesuatu. yaaa sekedar ngisi waktu luang lah daripada nganggur temen-temen sekantor pada dinas ke Bone semua, kantor jadi sepi meeeeen!.
kali ini saya akan menulis tentang memunculkan titik ribuan ke dalam mail merge. kebetulan akhir-akhir ini saya sering disuruh memperbaiki format mail merge yang katanya agak-agak error, padahal kan yang error dari segi usernya kan ya wkwkwkwk

oke langsung saja, pernah mengalami masalah dibawah ini? 


dalam excel sudah terdapat ribuan dan desimal namun di word sama sekali ga keliatan?


solusi pertama yang saya tawarkan disini adalah dengan menambahkan single quote atau tanda ' diawal bilangan seperti yang tertera pada gambar di bawah ini. kemudian, menambahkan sendiri titik ribuan. fungsi tanda single quote disini adalah supaya bilangan yang kita ketikkan akan terbaca sebagai text atau string.


namun solusi tersebut kayaknya masih kurang memuaskan, ya to? soalnya kalau banyak yang harus kita edit gimana? masa harus satu-satu? bisa keburu tua donk hahhaha. solusi pertama di atas juga mengandung kelemahan lain, yaitu apabila bilangan yang kita masukkan ke word via mail merge adalah hasil dari perhitungan rumus seperti dua gambar di bawah ini.


oke solusi kedua ini agak sedikit rumit, tapi lebih cepat daripada ngedit satu satu. caranya adalah buka word option, kemudian klik advance, cari bagian general, kemudian klik confirm file format conversion on open, kemudian klik OK. seperti gambar di bawah ini.


setelah itu, cell category di excel kita ubah sesuai format yang kita inginkan, disini saya menggunakan format accounting dan saya tambahkan desimal dua digit dibelakang koma. liat gambar dibawah kalau bingung maksudnya :P.


setelah sesuai dengan apa yg kita inginkan, selanjutnya kita berdoa kepada Tuhan Yang Maha Esa. setelah selesai berdoa, kita lanjutkan berusaha karena Tuhan tidak akan mengubah keadaan suatu kaum sebelum kaum tersebut berusaha mengubahnya. anda bertanya kenapa malah ceramah? ya udah lanjut aja kalau gitu.

langkah selanjutnya adalah, kita hubungkan lagi word dengan excel via mail merge. reconnect gitu lah istilahnya. ga tau caranya? tanya temen anda yang tahu. oke?
setelah dihubungkan ulang akan ada tabel dialog seperti dibawah ini, tak perlu ragu tak perlu gentar. cukup klik Show All.

kemudian pilih MS Excel Worksheets via DDE (*xls), lihat gambar di bawah, jangan ngeliat foto saya ntar naksir.


setelah berhasil di hubungkan ulang, silakan klik preview untuk melihat hasilnya. dan taraaa turrrr tereeee, mission accomplished!


Minggu, Desember 29, 2013

how to move Dolphin emulator save file to latest version of Dolphin emulator

hello maybe you are here because wandering in the net searching for how to move your save files from old version of Dolphin emulator to latest version. i used 3.5 - 367 version and upgraded to 4.0 version just recently. I googled it but nothing solution works for me. as i have figure it out, i decided to make a tutorial in English.

in my case, savefiles Dolphin 3.5 is located in its folder, and savefiles Dolphin 4 is located in myDocuments. you can see where your Dolphin root location at Option > Configure > Path.

before we start, maybe you are wondering, is this solution overwrite the latest Dolphin savefile?
well, i can say that it is not overwrite all of ISO save file but it is overwrite the same ISO savefile. for example, i have 2 save file in separated Dolphin. Xenoblade on Dolphin 4 and Harvest Moon: Tree of Trangulity on Dolphin 3.5. i want to move Harvest Moon save file to Dolphin 4. and i did it succesfully without overwriting Xenoblade Savefile.

but, if I have 2 Harvest Moon save file in each Dolphin, then if I move the save file, it will overwrite. just like when you copy and paste (overwrite) file in My Computer.

okay lets start (backup your Dolphin folder, just in case if anything accidentally happen, and do it with your own risk)

bassicaly what we are going to do is copying old savefile to the latest dolphin savefile location.
  1. open Dolphin 3.5 and right click on ISO you want the savefiles to move.
  2.  click Open Wii Save Folder. on the location bar you see that my savefile location is in its folder. next, on the Location Bar, remember or write down the folder name after folder 00010000 where your ISO save file is. for me, my folder is 52383445
  3. click on the folder 00010000 in location bar.
  4. copy the folder of your iso or simply copy all inside folder 00010000 if you want to move all ISO savefile. for me, i just copy 52383445 folder.
  5. we done for Dolphin 3.5. open Dolphin 4.0 then right click on your ISO. click open wii save folder.
  6. here you see that my save file location of Dolphin 4.0 is in myDocument, right? then in the location bar, click folder 00010000. paste the folder you just copy from Dolphin 3.5 there.
  7. its done. enjoy your game in the latest Dolphin :)
something comes up in mind when i move Harvest Moon save file. in the game, i have 3 slot for saving my progress (i only use 1 slot) and in the save file location i have 3 save file with same name except the number at last of filename and same size (you can see it at my screenshoot above). is it represent the 3 slot in the game? well i dont want to prove anything because i dont need to. so, i'll leave my question unanswered :)

anything comes up in mind too? just post a comment.

Rabu, September 18, 2013

Wacom Bamboo Bermasalah Part 2 (fixed)

masih inget post ane yg ini gan?

saat itu kan ane cerita gimana langkah-langkah memperbaiki bamboo yg labil kayak punya ane dulu eh sekarang kumat lagi dan bener-bener bikin stress dah

ane mikir deh, klo ada permasalahan yg ga bisa ane cari solusinya itu biasanya ane mikirnya kejauhan (sambil manggut-manggut pegang janggut, Conan Style) dan taraaaaaaaaaaaaaaaaaaaaaaaaaa

bener deh, setelah ane pindah posisi Bamboo ane agak jauh dari laptop akhirnya normal mal mal mal tanpa ada shake, ghost line, hang atau apapun masalahmu wkwkwk


jadi intinya, laptop ane sepertinya punya gelombang elektromagnet yg bisa mengganggu sinyal dari pen tablet ane gan. kok bisa tau? karena laptop ane ada listrik statisnya. jadi klo dipegang-pegang, di elus-elus ada rasa gemeteran gitu deh. 

terus gimana nasib laptopnya? ya ane biarin aja, asal ga deket sama alat elektronik lain ga masalah kok. ntar klo ada waktu ane jelasin kenapa laptop ane bisa ada listrik statisnya. OKE Bray?! 

Jumat, Agustus 23, 2013

Wacom Bamboo bermasalah

agan-agan tau Pen Tablet? atau yg biasa dikenal dengan nama Graphic Tablet? bukan Komputer Tablet yg sekarang lagi ngetrend ditenteng-tenteng waktu main di mall lho. bukan juga kapsul yg kita beli di ibu-ibu penjual warung di saat hari hujan dan pas ada dua cewek bertanya "pilih dia atau akuuuu?" bukan bukan tablet seperti itu.

alat ini semacam alat buat menggambar di komputer. jadi sebagai pengganti kuas atau pensil gitu lah. anak Geografi biasa nyebut dengan istilah Digitizer. sebenernya bukan digitizer sih, tapi yaaa mirip-mirip laah.
berikut penampakannya sama persis dengan punya ane.
image taken from geniushop.blogspot.com


so what's the problem?
ceritanya ini ane kan udah pake selama 2 tahun dan ga ada masalah, eh tiba-tiba kemarin muncul masalah. cursornya kadang-kadang ga mau digerakin, tiba-tiba muncul garis sendiri (istilahnya ghost line), terus klo diarahkan ke tepi layar atau working area si cursor ini gemeteran mungkin takut sama ghost line tadi yaaa (makes sense)

nah ane udah obrak-abrik seluruh dunia website pake ajian mantra dari mbah google tapi kok belum nemu satu pun yg mbahas tentang masalah ane beserta solusinya. akhirnya berdasarkan pengalaman dengan game warcraft yg ngelag seperti di post sebelumnya, ane beranikan diri menginjakkan mouse ke website Wacom untuk mengunduh driver terbarunya. dan ternyataaaaaaaaaaaaaaaa cintaaaaaaaaaaaaaa ingin ku kenang selaluuuuu (-_____________-)"

hasilnya sama aja gan, sedih banget, tertekan, jiwa ini tertatih tatkala mengetahui aral yg merintang belum dapat diatasi.

langkah terakhir ni gan, klo ga bisa berarti sudah putus harapan ane. ane kirim email ke teknisi wacom cabang asia pasific. berikut penampakan email dari ane.

dear wacom,
i've been using bamboo pen CTL-460 for 2 years and everything was fine until I bought a new laptop a week ago. my bamboo pen sometime stop working, and create ghost line. if i point my cursor at the edge of working area, the cursor is flickering or shaking. but in the center working area, the cursor is fine.

 fyi, my new laptop is ASUS N46v, core i7, 4GB DDR3, Geforce GT 650M. windows 7 64bit.my older laptop is Fujitsu LH530, core i3, 2GB DDR3, Intel GMA HD, windows 7 64bit. my bamboo is fine with for my older laptop.

i tried to update my bamboo driver with latest driver but no result. i have a plan for upgrading my bamboo to intuos yet i can't afford it right now. so please help me.thank you.

wuih nggaya pake bahasa English, ya eyaaa laaah masa pake bahasa jawa ngoko kasar campur misuh hahha

beberapa jam kemudian.........

akhirnya email balasannya dateng juga. lumayan cepet tuh cuma hitungan jam. berikut ini isi email balasan dari teknisi Wacom asia pasific

Dear Deta Novian,


Thank you for your inquiry to Wacom Asia Pacific support.

Regarding the information you provided, we advise you to connect the tablet to a different USB port directly connected to the motherboard of your computer.  Also, we suggest that you follow the steps below for troubleshooting.

1. Back up custom settings you have made in the tablet driver.

Click Start > All programs > Wacom folder > Wacom Preference File Utility > click Backup.

2. Reset the tablet driver.

Click Start > All programs > Wacom folder > Wacom Preference File Utility > under All User Preferences, click Remove.

If the problem remains, go to the next step. If it is fixed, do not proceed with the rest of the troubleshooting steps.

3. Uninstall your current driver.

Disconnect the tablet from the PC.

Click Start > Control panel > Programs and Features > highlight Wacom then click  Uninstall.

4. Search and delete all Wacom related files.

Start > Search > type the following keywords on the Search text field and then delete all Wacom related files.

  • Wacom
  • Wintab
  • Tablet
  • Pentab
Restart your PC after uninstalling the Wacom tablet driver and deleting all Wacom related files.

5. Disable the built in Tablet PC optional components in Windows 7 that may come in conflict with tablet's driver.

Click Start > Control Panel > select Program and Features > click Turn Windows features on or off on the left pane > click Continue and wait for the window to load > uncheck Tablet PC Optional Components > click OK

Note: The process may take several minutes, and that you may need to restart your PC for the changes to take effect.

6. Download and install the latest driver for your tablet from the URL link below.

http://www.wacom.asia/en/tablet-drivers?tid_1=10&tid=46
(Wacom - Product Drivers)

a) Select your tablet model: Bamboo Pen
b) Select your operating system: Windows 7
c) Click download on the far right of the latest updated driver: 

7. Boot your PC in Safe Mode.

Restart the PC > continually tap F8 before Windows load > select Safe Mode on the Boot option menu.

8. Install the tablet driver.

Notes for installing tablet drivers:

  • Temporarily disable your Anti-virus, Anti-spyware, Phishing filter, and firewall before running the driver installer.
  • Temporarily disconnect Network connections and other USB devices connected to the PC.
  • Connect the tablet to a powered USB port, preferably directly to the motherboard.
  • Make sure that you are logged in as a Computer Administrator.
  • Try connecting the tablet to a different USB port or different PC if necessary.
  • Clean the PC's RAM to free disk space and make processing faster.
  • Download and install latest updates for your Operating System.
Reboot your PC to normal mode then connect the tablet to the PC.

9. Stop and Start the Wacom Consumer Service.

Press and hold Windows key+R > type in services.msc then click OK > on Services, look for and highlight Wacom Consumer Service > click Stop the service, then click Start on the left pane.

10. Make sure that the driver is set to Pen Mode.

Click Start > All Programs > Wacom folder > Wacom Preferences > click Pen tab > under Tracking, select pen mode.

We hope these information have been useful in resolving your inquiry.
Kindly contact us if you need further assistance.

Regards,
Mae
Wacom Asia-Pacific Support Team

dan Alhamdulilaah sekarang bamboo ane udah balik seperti sedia kala, terima kasih bambooo


update september 2013
wacom bamboo ane kumat lagi T.T dan solusinya ada di post selanjutnya disini

Jumat, Agustus 16, 2013

Klik kanan mouse muncul di sebelah kiri cursor

Agan-agan sekalian tau mouse kan? seperti ini bentuknya

image taken from http://chiell.files.wordpress.com
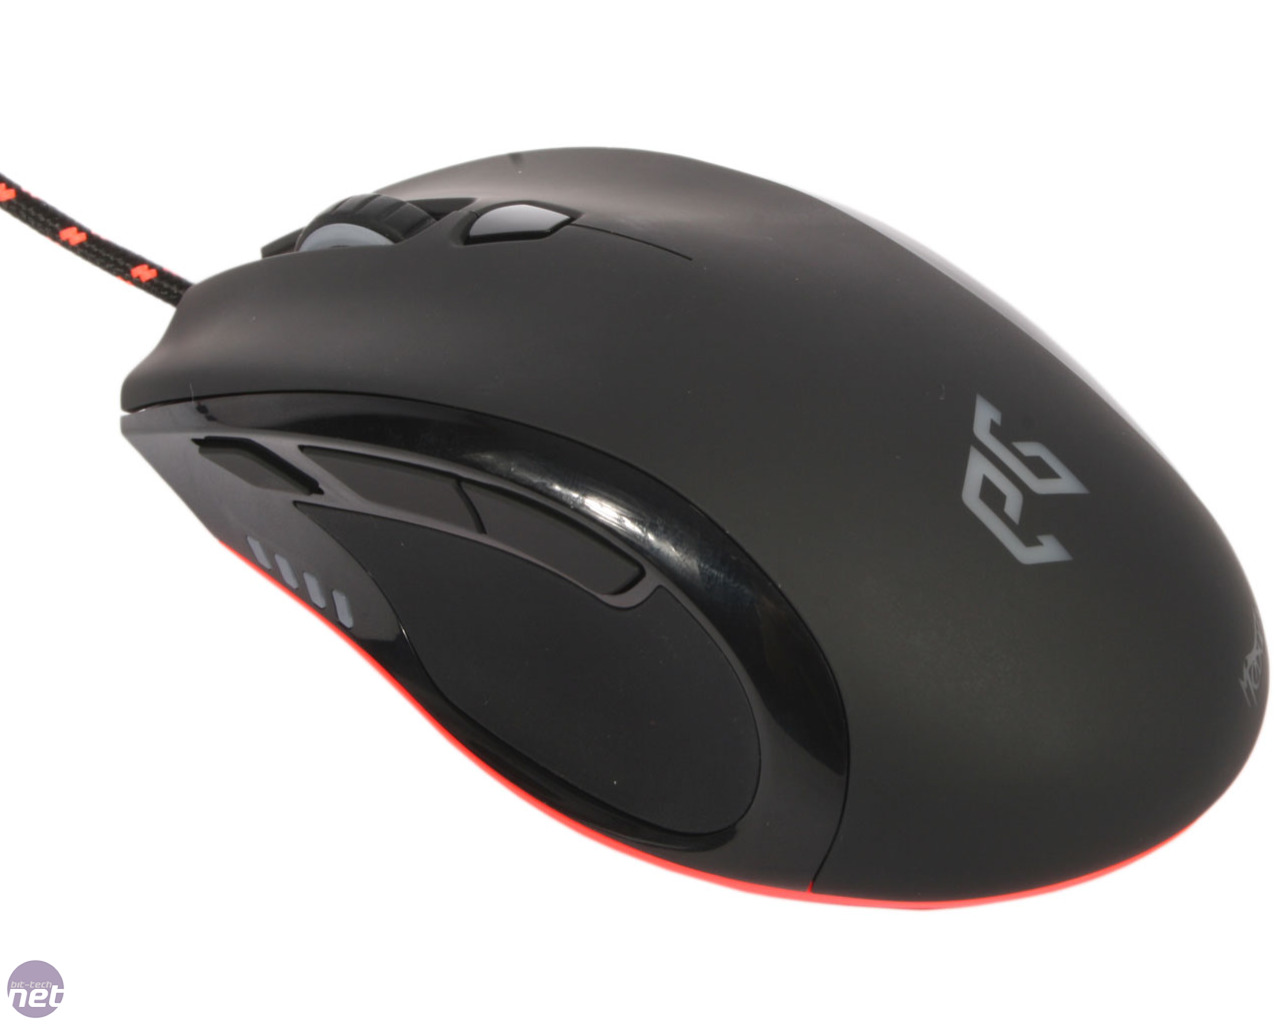
gimana lucu kan? tapi itu adalah tikus yang membintangi film Ratatoulie wkwkwkwk, yang akan kita bahas disini adalah tikus berkabel yang sering kita pijit-pijit.
image taken from bit-tech.net

untuk mouse standard atau biasa di pasaran terlebih lagi toko pinggir jalan yang buka tiap selasa (kayak pasar jengkol di Jurang Mangu aja), ada 3 tombol yang bisa ditekan. klik kiri, klik kanan, dan scroll (jangan salah, scroll juga bisa di klik lho). nah klik kanan disini berfungsi mengeluarkan fungsi-fungsi lain yang sering kita gunakan seperti copy-paste.

kemarin, entah kenapa ga tau tiba-tiba menu klik kanan ane berubah tempat. klo biasanya kan begitu ane klik kanan, terus menunya muncul di sebelah kanan cursor eh tapi ini munculnya di sebelah kiri cursor. nah bingung dah lo

sebenernya sih ga pa pa cuma ga terbiasa aja dengan menu yang muncul di sebelah kiri. akhirnya ane oprek-oprek tuh Control Panel (jangan salah baca ya) ketemu deh solusinya. untuk lebih jelasnya silakan dilihat, diraba, dan diterawang Screenshoot dibawah ini.

buat yang buka lewat hp dan ga jelas liat gambarnya, sini ane jelasin.
1. buka Control Panel terus klik Hardware and Sound
2. klik Tablet PC setting, ntar muncul windows baru
3. pada windows baru yg muncul, klik tab Other
4. ada pilihan Left-handed atau Right-handed. klo left handed berarti menu klik kanan muncul di kanan cursor, klo right handed berarti menu klik kanan muncul di kiri cursor
5. tekan OK

segitu aja, mudah kan? hah susah? ah yang bener susah? amaca? enelan? miapah? mie pangsit?


Selasa, Agustus 13, 2013

Microsoft Office Word Has Not Been Installed For The Current User

pernah dapet pesan error seperti di atas? kurang lebih seperti ini.
screen shoot taken from http://www.raymond.cc
buat pegawai kantoran yang biasanya pake MS Office sebagai sarana kerja pasti langsung bingung. kerjaan belum kelar, deadline bentar lagi, bos nagih kerjaan mulu tapi MS Office malah ga bisa dibuka. capek ga tuh?


ane pernah ngalamin tuh gan, deadline laporan tinggal satu hari eh MS Office-nya ngadat muncul pesan error di atas. bingung lah ane secara belom pernah ngalamin error kayak gitu. untung ane orangnya cool alias ga panikan bermodalkan kepercayaan kepada mbah google akhirnya nemu website ini http://www.raymond.cc/ 

selidik punya selidik ternyata yang bikin error adalah file MSO.DLL yang terletak
  1. Office XP di C:\Program Files\Common Files\Microsoft Shared\Office10 
  2. Office 2003 di C:\Program Files\Common Files\Microsoft Shared\Office11
  3. Office 2007 di C:\Program Files\Common Files\Microsoft Shared\Office12 
sekedar catatan: untuk pengguna Windows 64bit, nyari file nya di C:\Program Files (x64)\...dst 

nah klo error gimana tuh? ya solusi paling gampang ya di replace aja filenya. istilahnya di tindih (busyet dah kayak apa aja ditindih :ngakak). Fortunately, ada file backup yang bisa dipakai untuk menindih file yang bikin error tadi. letaknya di C:\Windows\Installer\$PatchCache$\Managed\00002119E20000000000000000F01FEC\12.0.4518

ingat folder Installer di dalam Windows itu berstatus hidden jadi komputer agan perlu di show hidden files atau langsung ketikkan address tersebut ke dalam address bar di komputer.

langkah terakhir, copast kan MSO.DLL. klo ragu, file lama boleh di backup dulu kakaaak baru di tindih ndih ndih.


klo berhasil, kasih komen ya? oke?

fyi: biasanya error diatas ditemukan di MS versi pak tani yang secara sengaja atau tidak sengaja di update